CHRISTOPHER VIDAL
  • Home
  • The Artist
    • About my work
    • Media/Publications
  • PAINTINGS
    • Paintings for Sale >
      • Landscapes
      • Plein Air
      • Still Life
    • Commissions
    • SOLD Paintings
  • Tuition
    • Online Art Coaching
    • Workshops & Demos
    • Student Works
  • Products
  • Blog
  • Contact

Artist Christopher Vidal  - Blog

Welcome to my blog. The aim of this blog is to share with you some of my experiences related to my artworks, what inspires me and also how it is done. As an artist I am also constantly learning as this is an ongoing process. I also learn from my students when I am teaching in the class. Sharing what I know with others is also very satisfying. This is how we grow and improve. 
I've been teaching art for a while now, and I must say that from this I learned a lot. This helps me to identify what each individual needs in order to become a better painter. Painting is not an easy task especially landscape painting. One needs to have the inspiration to paint a tree or a mountain and it is not a question of just wanting to paint something. I choose to paint something because there was an element that motivated me to do so ...that inspired me. It could be the game of light and shadows or simply the warm colors of a late afternoon. It is sometimes very difficult to translate the colors that nature shows us using paint on a canvas. This challenge could be also a way to motivate you to paint a scenery. 
Most important is that you do not expect that every painting that you paint is going to be a masterpiece. You shouldn't be afraid that your final product is not what you expected in the first place. An unsuccessful painting should be the teaching ground for a better one that follows. This is how we learn. We learn from our own mistakes and from things that didn't work out as we wanted them but with an effort we try to make them better the next time. 
So if you want to become a better painter then you have to practice and paint regularly. This is the only way how you can improve your techniques, discover ones of your own, learn your colors etc. It is all about brush mileage. The tutor is there to help you find your way, shows you the basics and how to use your tools in order for you to be able to develop yourself. 
Looking forward to share with you my knowledge.
Drawing and Painting from life

17/12/2016

1 Comment

 
Picture
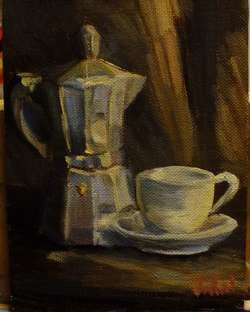
One of the major problems being seen today is that art students are becoming more and more relying on printed media as a reference material to draw and paint from. The misconception is that photography presents a true interpretation of reality. However it is important to know and be aware that photography does not necessary show things as they really are especially where color is involved. Two of the major known problems of photography are two dark shadows and highlights seem to be too bright or even white.

As in the classical way of tuition and learning how to see and observe objects around us, classical school of arts as from centuries ago always used real objects as their reference material. The human eye is able to see so much detail and colour that no camera can capture. With your eye you will be able to see the various subtle changes in tone and colour even within shadows that for the cameral appear to be flat and so dark. Our eye is able to see the 3 dimentional detail of an object, something that is very important if we want to learn to draw and paint in a realistic way.

1 Comment

Painting the outback

3/12/2016

2 Comments

 
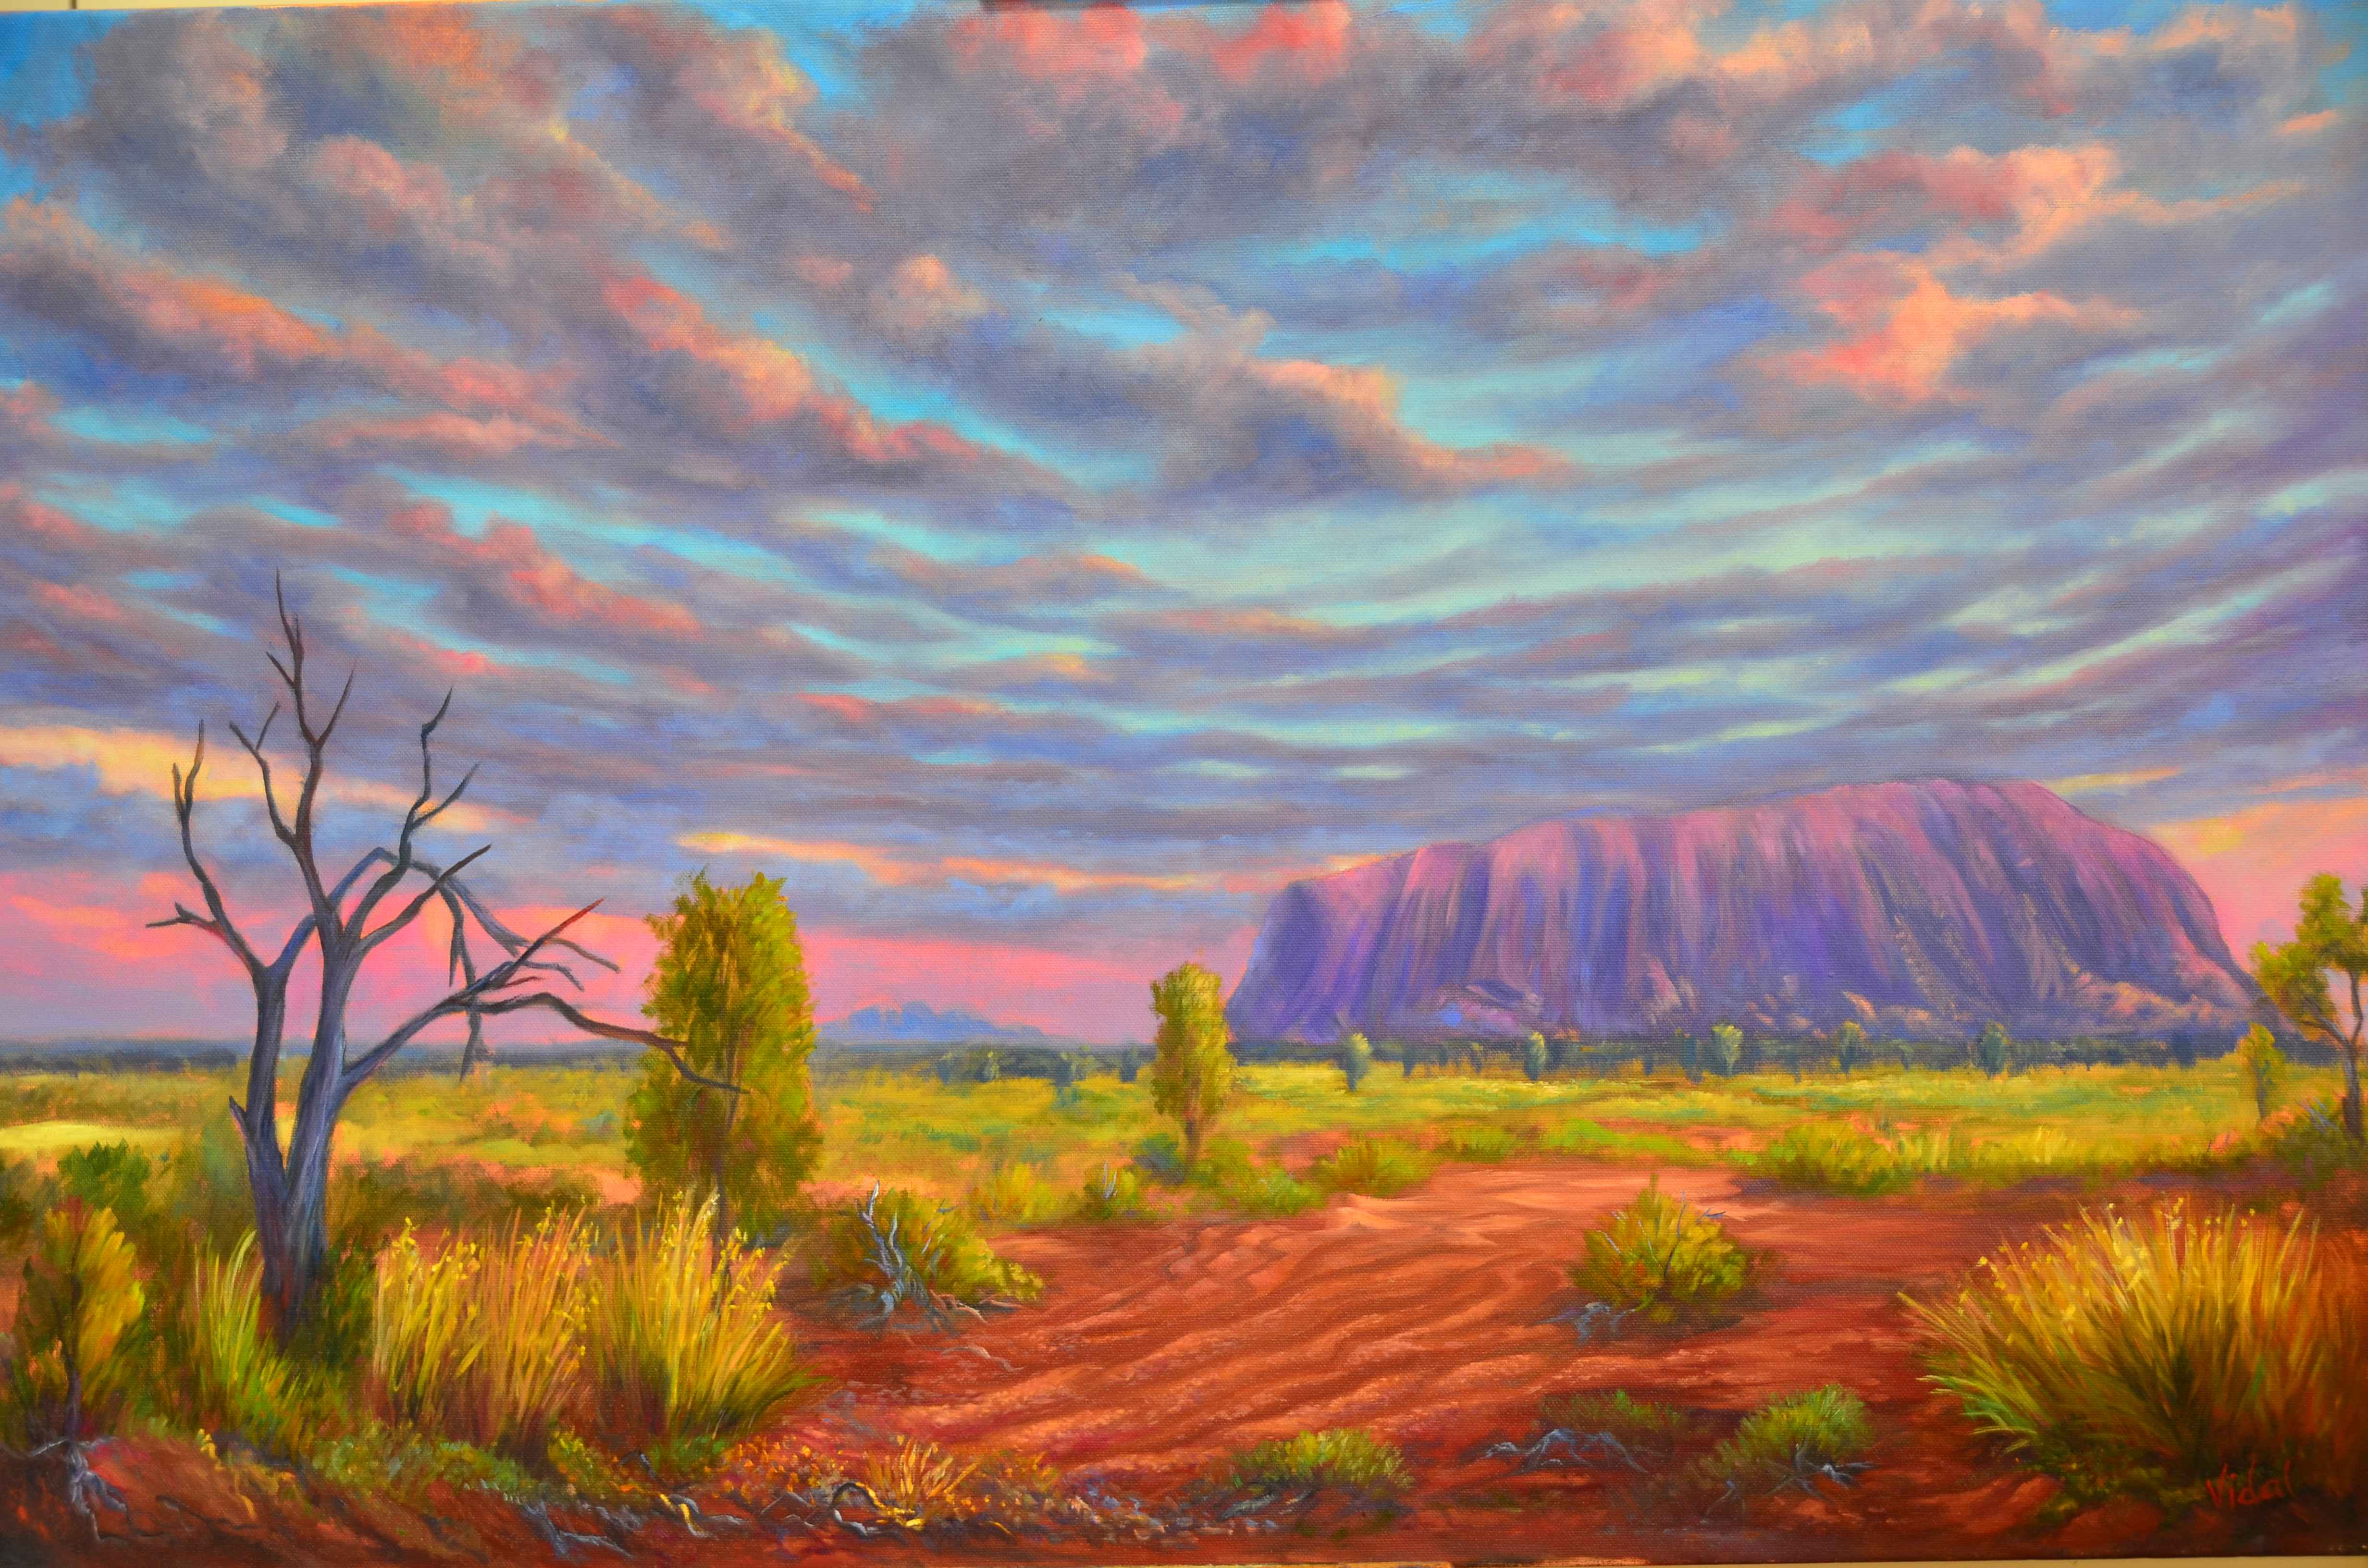
Ayer’s rock, or as it is known “Uluru” is not only one of Australia’s major landmarks but also it is one of the most sacred and important aboriginal sites. I travelled to the “Red Centre” of Australia in the Northern Territory couple of years ago, and visited some of the most beautiful places I’ve been to so far.

In this painting I wanted to show the vastness of the land with this massive sandstone monolith occupying a dominant position in the painting. A big sky will complement the subject.  
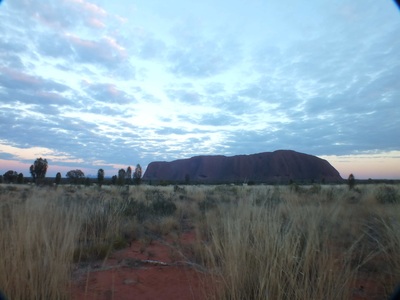
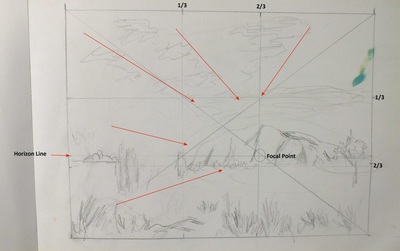
Above is one of the reference photos I used for this painting. I also prepared some sketches (to scale with the canvas) and then I chose the one that I liked most. Following that on my notebook I did some planning of the colors to use and of the various color values. To do this I use a value comparator which helps me a lot to judge my values correctly. My aim is that during the first phase of the painting I get as much as possible close to the end product in what has to do with values and color. Then when the canvas is entirely covered with paint I will be able to judge by comparing one color to the other next to it and adjust accordingly.

For myself the first stage of the painting is the most important one and most labour intensive. By the end of this stage I will need to have all the canvas covered with paint and establish shapes and form of most of the elements. I also try to get as close as possible to the right tones and values. By the end of this stage I want to see most of the painting only lacking detail and minor adjustments. Since the sky plays a very important role in this painting, I decided to start from the sky by blocking in the clouds leaving empty spaces for the sky. For the sky I usually use an old big brush so that I can literally scrub the paint all over. When painting the sky I try not to paint it as a solid object always keeping in mind that I am painting air. 

The next step was to block in the foreground and the rock itself. The main rock formation was painted using a mixture of cobalt/ultramarine blue, white and Quinacridone Magenta. Using a cloth I softened edges and lifted paint of to expose the underpaint while establishing where to place the highlights in the next step. 
Picture
The next stage was to start adding the details. Using various mixtures of white with burnt sienna, cadmium scarlet, alizarin, yellow ochre and ultramarine blue, I gave more form and detail to the ground at the front and middle parts of the painting, giving the impression of cracked ground washed away by water. More form, details and highlights were added to the trees and bushes all across the painting. Using a warm and cooler version of the base mixture described above the details and highlights were added to Ayer’s Rock. Reflected light from the sky was painted using a mixture of white with ultramarine blue.  
Gradually I always do some minor adjustments and add more details during the first couple of weeks until I see that there is nothing else to add. 
2 Comments

    Author

    As an artist I want to share with you my experiences and what is behind my artwork. Every artwork is an expression of the inner self. It is driven by experience. 

    Archives

    February 2025
    January 2025
    September 2024
    August 2024
    June 2024
    February 2024
    August 2023
    May 2023
    February 2023
    January 2023
    June 2022
    May 2022
    November 2021
    April 2021
    March 2021
    February 2021
    December 2020
    November 2020
    October 2020
    September 2020
    July 2020
    May 2020
    April 2020
    January 2020
    December 2019
    November 2019
    October 2019
    June 2019
    April 2019
    March 2019
    February 2019
    December 2018
    November 2018
    October 2018
    September 2018
    July 2018
    May 2018
    March 2018
    February 2018
    January 2018
    December 2017
    November 2017
    September 2017
    July 2017
    June 2017
    May 2017
    February 2017
    January 2017
    December 2016
    November 2016

    Categories

    All

    RSS Feed

Copyright 2025 christopher vidal.com.au
ABN: 99673806422
  • Home
  • The Artist
    • About my work
    • Media/Publications
  • PAINTINGS
    • Paintings for Sale >
      • Landscapes
      • Plein Air
      • Still Life
    • Commissions
    • SOLD Paintings
  • Tuition
    • Online Art Coaching
    • Workshops & Demos
    • Student Works
  • Products
  • Blog
  • Contact